Beginner’s Guide: Everything you need to know about recording for social media
Let’s take your first step towards social media virality.
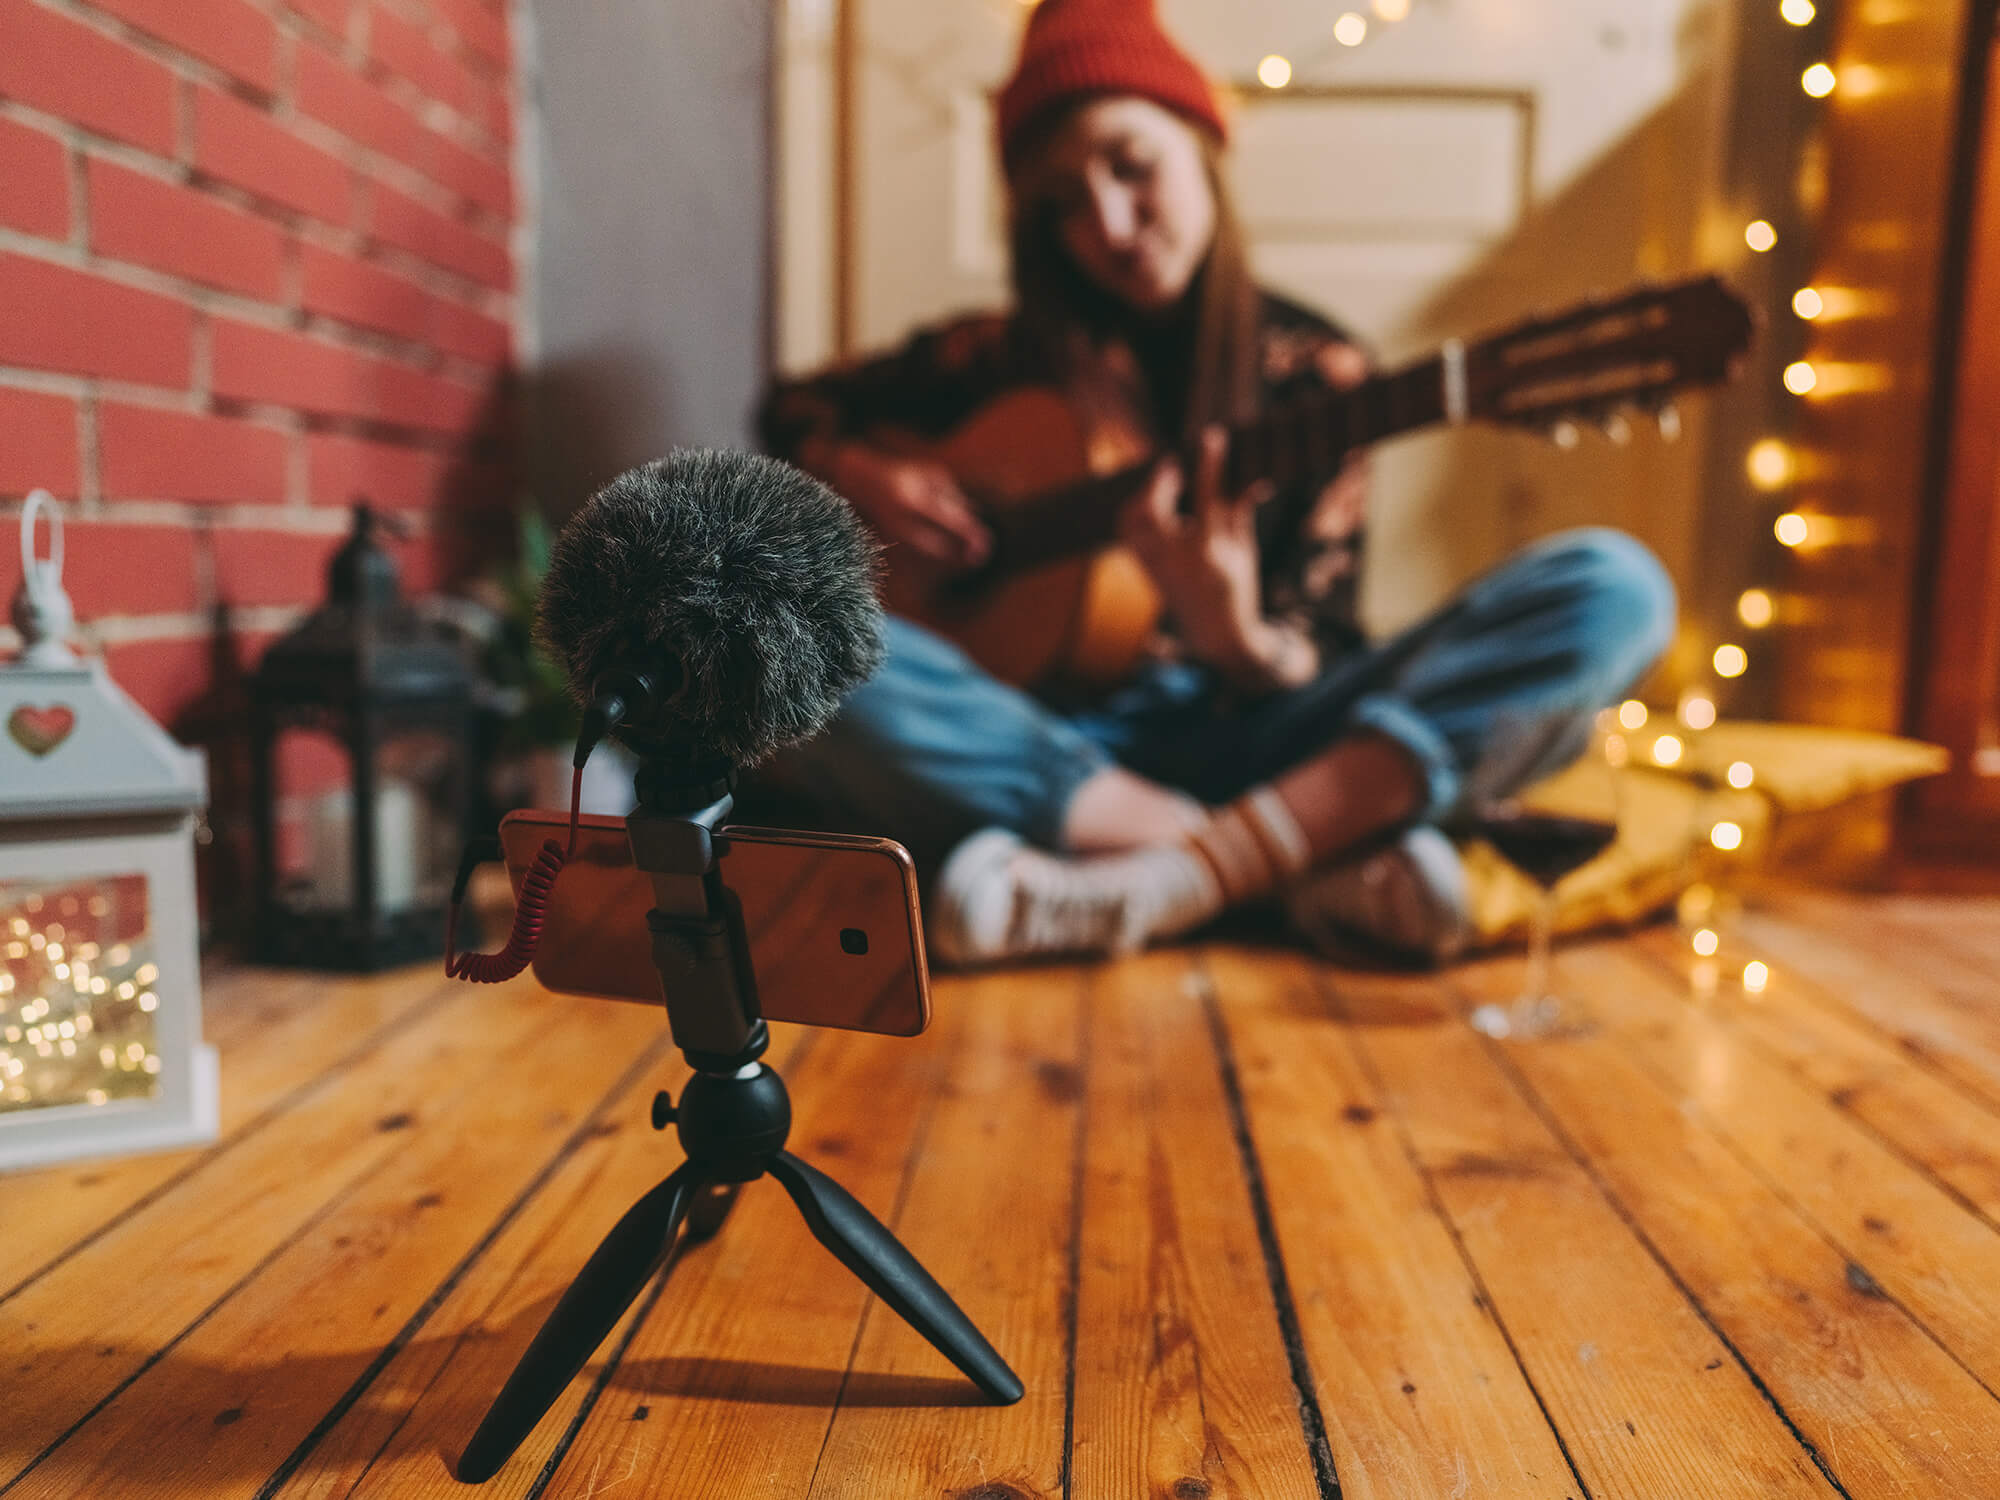
Image: Getty Images
Social media platforms are excellent marketing tools for promoting yourself, a product or service. It is the best and by far most effective way to reach an audience that one might not be able to otherwise using traditional methods. A survey conducted by MRC Data found 28 per cent of Gen Z music fans discovered new music through video games. Meanwhile, social media accounted for 51 per cent of new music discovery, with TikTok being the platform of choice for a whopping 49 per cent.
So, it’s clearly a critical tool to help your music get discovered. But you might be wondering, “How does (insert name of your favourite musician/producer)’s video look and sound so good all the time?” We’re here to demystify that and help you put out your first piece of content.
It all starts with great substance
You might think that you would need lots of expensive studio equipment for your video to go viral, but it is far simpler than you might think. Most of the viral videos you see are recorded on a smartphone. Even Justin Bieber got discovered when music promoter and talent agent Scott “Scooter” Braun saw a shoddily recorded video of Justin singing on YouTube.
All you really need is a working camera phone that captures decent enough quality audio and video, and a lot of substance. If you have an undeniable talent or fresh ideas for a video, this will have a greater bearing on whether you reach your desired audience than the quality of recording. But, we’re going to fix your recordings, too!
https://www.instagram.com/p/CIqi07bnYAh/?utm_source=ig_web_copy_link
Making the right choices
Now that you’ve thought about the core idea of the video you want to record, we’ll need to look at how to shoot it. The simplest way to do it is to just sit in front of your camera and do your thing. If however, you want to get a little fancy, here are some other things to consider.
Location: This could be anywhere, from your bedroom, to even the edge of a cliff. It should go without saying, but you should always seek permission from property owners before shooting in malls/buildings/etc. Also, do not attempt anything dangerous without consulting relevant professionals.
Look: Decide on what you want your audience to see. Think about dressing up the shoot location with plants or lights so that it looks more aesthetically pleasing. Consider having multiple camera angles as well for players that have elaborate setups like synth players or drummers.
Collaborators: Grab your best pals, or a friend who already has a following and have them appear in a video with you. This is a great way to expose yourself to someone else’s fanbase, potentially converting them into your fans.
Framing: Different social media platforms have specific aspect ratios that work best for them. A 9:16 (vertical orientation) aspect ratio works best for Instagram and TikTok, while a 16:9 aspect (horizontal orientation) is better for YouTube. Always mind what you think your audiences would like to see, and be sure to include plenty of that in the shot!
Lighting: Make sure your subject is well-lit, as there are many videos in which the subject shows up only as a creepy silhouette. Ideally, your video should look as good as it sounds.
Cameras: Your smartphone’s video function should do just fine, however a step up would be to use third-party apps like FilMic Pro for more control over specific camera settings such as exposure and aperture. If you plan to make an investment, getting a dedicated camera would be ideal. DSLR (cameras with interchangeable lenses) or a point-and-shoot (fixed lens) cameras both work, it’s just a matter of your budget and preference.
Video Editing: If money is tight, there are free video editing programs out there which you can use. Mac users could consider working in iMovie, which can be a lot more flexible than you might think. And PC users, fret not, there are free programs like Blackmagic DaVinci Resolve which do exactly the same thing.
Performance: Be sure to show off those pearly whites! No one wants to look at a grump. If you’re not a one-take wonder, it’s best to mime. Voices tire, hands get cramped. Don’t be a hero – it’s ok to mime over your recorded audio. But if you want bragging rights, you can always choose to perform live, with your DAW running in the background as proof.
How do you make your videos sound good for mobile?
Remember, phones don’t have the same capabilities as studio monitors or headphones. If your content is meant to be seen on mobile devices, you should then mix with mobile devices in mind. And on that note, louder also isn’t always better – cranking way up on your levels is a surefire way to get you distorted audio. Here are some general guidelines:
Record using your phone’s mic: This is the easiest way to do things, but remember to face your sound source to your phone in order to get the best possible results. And if your phone’s microphone is truly beyond saving, consider picking up an external smartphone microphone. There are options from Shure or ZOOM that you can check out.
Record direct into your DAW: This is a much cleaner option for guitar and synth players, as your signal would be going straight into your DAW through an audio interface. As with all recordings, you should check that your levels aren’t clipping. With your levels set, you’re free to explore different sounds with amp-simulator plug-ins such as Neural DSP Archetype, Fractal Audio Axe-FX, IK Multimedia Amplitube, Two Notes Amp Room. These plug-ins all offer great completed guitar tones that will easily fit any production.
Microphones: When recording with microphones, make sure your microphone levels are in the green. Be sure to also check for phasing issues when recording with more than one microphone. For starters, a simple USB large-diaphragm condenser microphone like the Audio-Technica AT2020 USB will do the trick. It is transparent and detailed, which is ideal for most instruments if placed properly, and will definitely offer a more pleasant sounding recording compared to phone recordings.
@disclosuremusic How we wrote our new track “Never Enough”#electronicmusic #disclosure #producer #music 🎹🎶🎚
Mixing: This will take the most time to get the hang of. As some of you might have already realised, all of these social media platforms apply some form of data compression to your files.
First, determine the audible frequency range of your mobile device. Generally speaking, anything below 200-250Hz can’t be heard on smartphone speakers. However, those lower frequencies can still be heard on headphones, so do not eliminate them entirely.
If you’re recording tracks with very involved low-frequencies, there are some workarounds.. You could try playing the part octave higher, or adding a low-cut filter on your master bus to sense check your bass parts when mixing on speakers.
More importantly, make sure frequencies above 250Hz are mixed beautifully. What we’re aiming for is presence. Make sure your highs aren’t too harsh, so that everything can come through as intended.
Fun fact, if you access all the social media platforms on desktop, your music will not be affected by their data compression.
Audio format: If you’re recording audio separate to your vide, you can use regular WAV or MP3 file formats. Both will work fine, though we prefer WAV.
A word on recording covers: If you’re playing along to an existing song, mixing can be a little tricky, because you need to account for the existing frequencies of the instruments that are on the track. One solution is to bring up a Spectrum Analyser (Logic’s EQ plug-in has a very good one). This shows you what frequencies your newly recorded track (bass guitar, for example) is occupying, and from there you can cut out said frequencies on the backing track you’re playing along to. This is however, a very slipshod way of doing it, so do learn how to mix properly!
A few more things to bear in mind
Platforms: Try to recycle content across all platforms. For example, a three-minute long clip for YouTube, can be chopped up into several 15-30 second chunks for Instagram or TikTok. This way, you get to fully milk every piece of content you create, and not worry about running out of content to put out.
Copyright strikes: Using media you don’t have permission for is a big no-no. You can however, grab a few of your friends and recreate the song you wish to perform. Or better yet, you could learn to play all of it yourself.
With these tips, you should have more than you need to put out your first piece of content. Remember, you don’t need expensive studio equipment to get started – we’ll see you online!